

Installation instructions:
PDF (1.4MB): http://subaru.FMGreen.net/SpoilerDIY/SubaruGenuineSpoilerInstallationInstructions.pdf
Allow me to preface this by referencing the info from user: quazar, about halfway through this thread: http://www.subaruoutback.org/forums/showthread.php?s=&threadid=10494
I aligned the two "lower" holes (back of the gate) first and then the two "upper" holes (side of the gate). In the end, I ended up having to widen the two upper holes, as they were spaced quite poorly. I ended up with two holes on the top that were about 3/4" oval each.
Be very careful and don't trust the OEM templates.
Don't be scared away, just go slow, measure twice (or three, or eleven times...) and then drill.
On to the pictures. Say hello to my dad's 71 year old mason, sandpaper hands...
0) Remove interior vertical trim pieces.
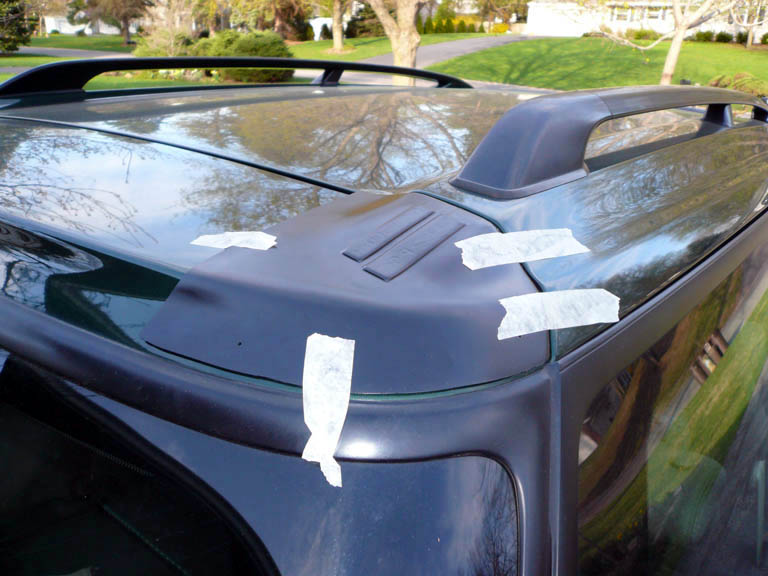
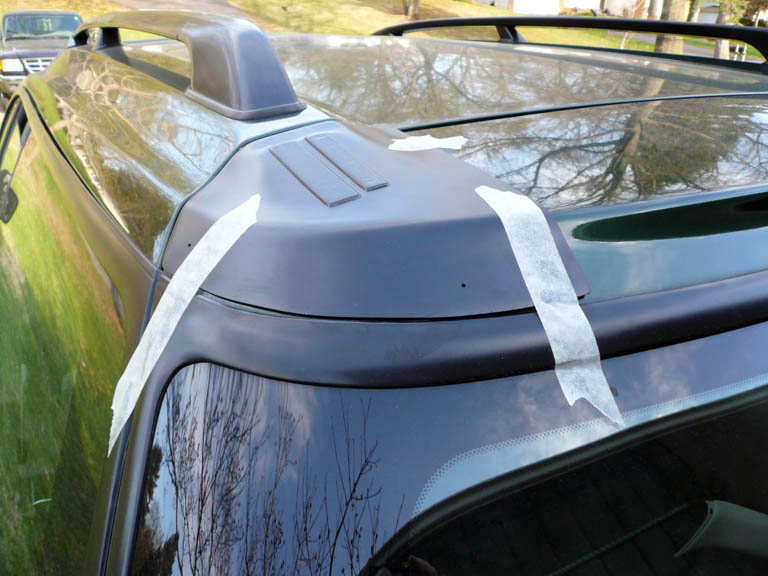
1) Attach the OEM plastic templates to the top of the hatch.
![Image]()
![Image]()
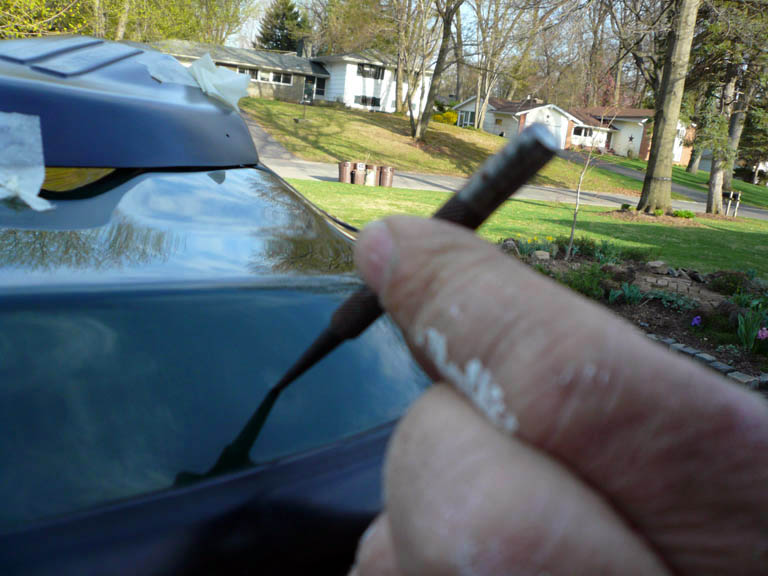
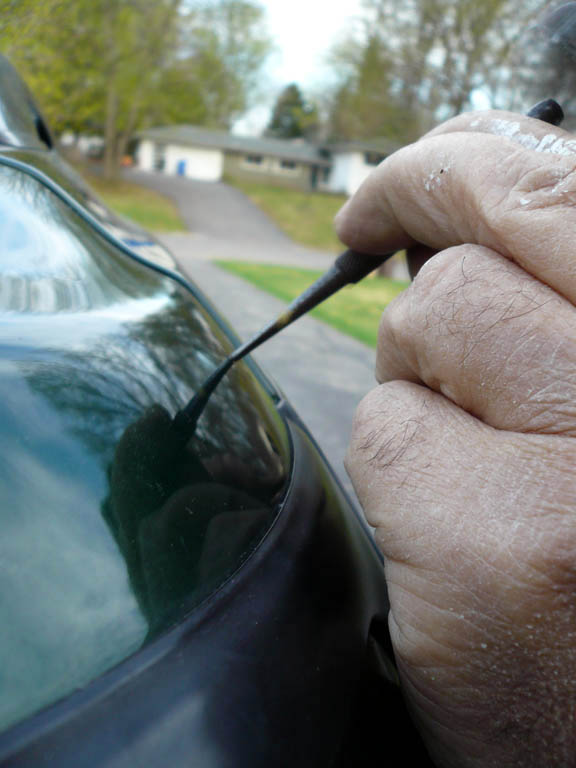
2) Use a metal punch to create a point for your drill to start from.
![Image]()
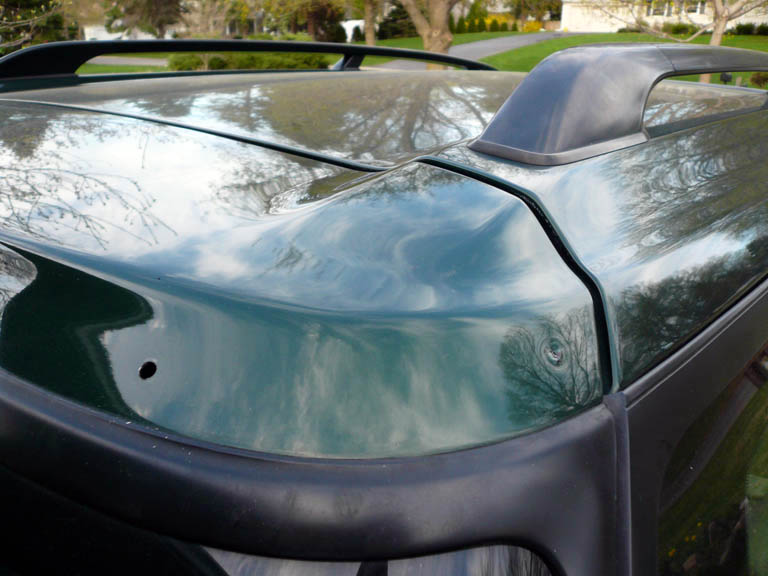
3) Say a prayer
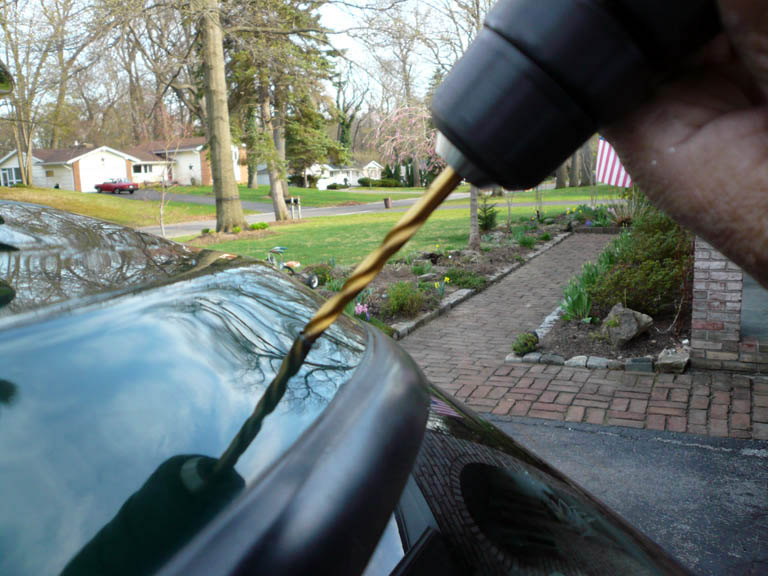
4) Drill...
![Image]()
5) Punch your mark for the second hole.
![Image]()
![Image]()
6) Drill...
7) Repeat on the other side.
8) Apply touch-up paint, or some other protectant, to the surfaces you drilled.
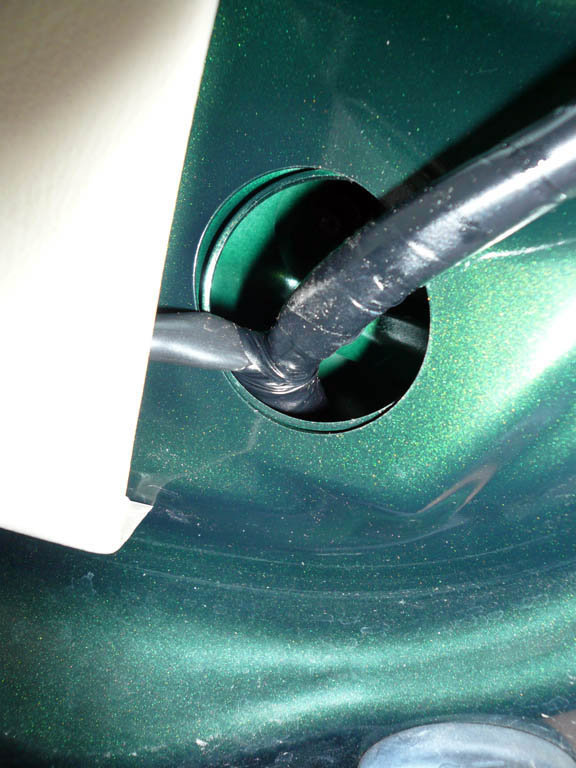
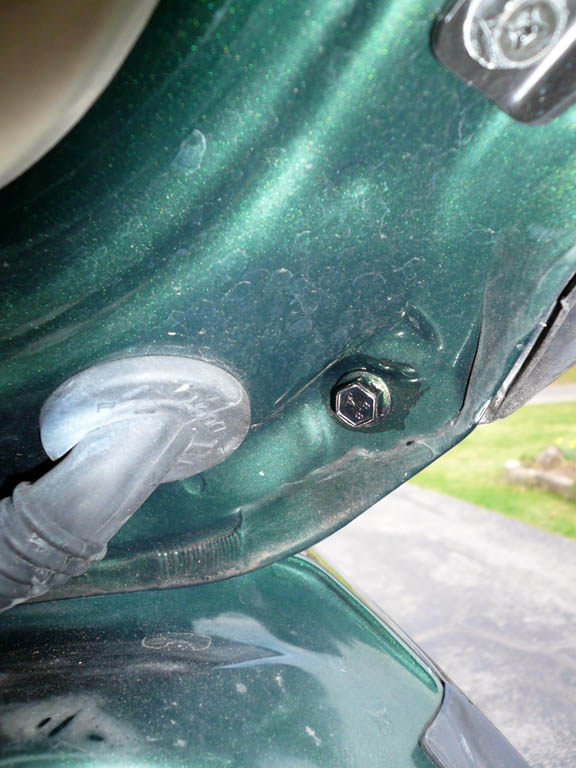
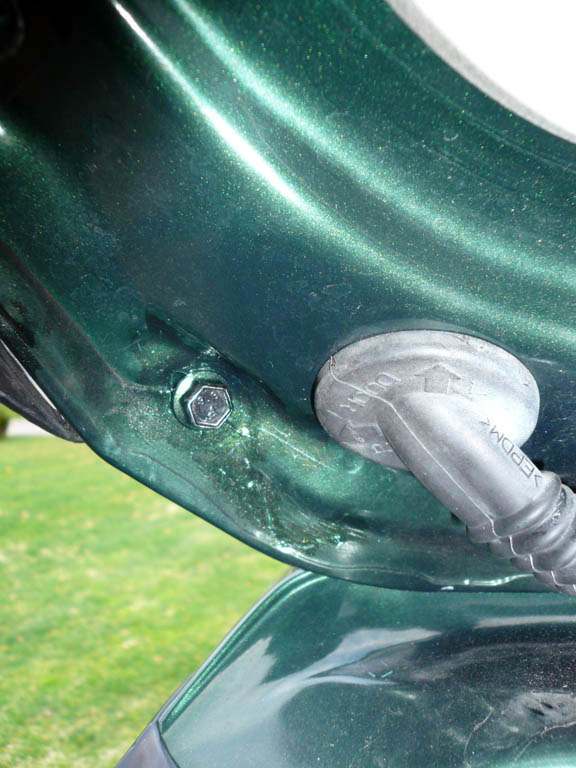
9) Insert spoiler bolt-posts through the holes you drilled.
10) Attach nuts to these bolts.
(It's in there...behind the wires)
![Image]()
![Image]()
11) Attach bolts to the spoiler through the other holes you drilled.
![Image]()
![Image]()
12) Apply touch-up paint, or some other protectant, to the interior surfaces and around the bolts.
13) Reinstall vertical trim pieces
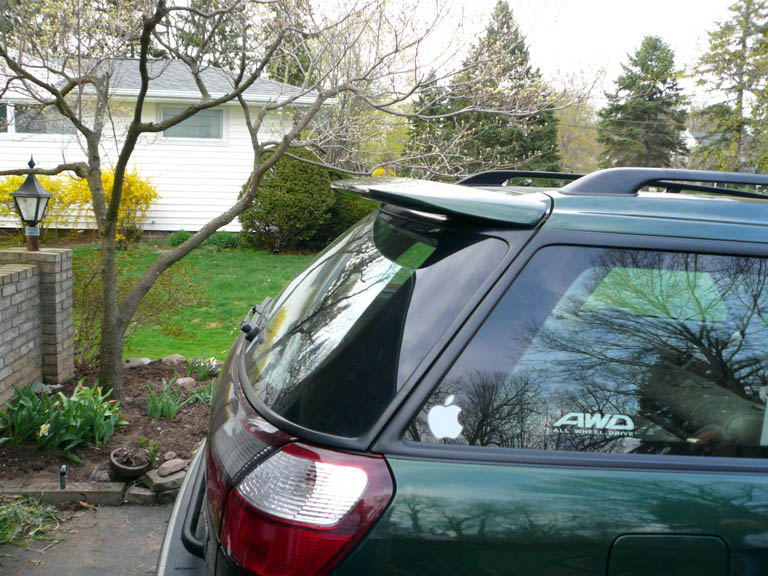
Enjoy the finished product!
![Image]()
![Image]()
![Image]()
![Image]()
PDF (1.4MB): http://subaru.FMGreen.net/SpoilerDIY/SubaruGenuineSpoilerInstallationInstructions.pdf
Allow me to preface this by referencing the info from user: quazar, about halfway through this thread: http://www.subaruoutback.org/forums/showthread.php?s=&threadid=10494
Indeed, when I taped them up and held the spoiler up to do a visual check, the holes on my OEM templates were also incorrectly spaced. I ended up eyeballing the whole proces, using the templates as a starting point, but then adjusting adjusting my marks manually.
I aligned the two "lower" holes (back of the gate) first and then the two "upper" holes (side of the gate). In the end, I ended up having to widen the two upper holes, as they were spaced quite poorly. I ended up with two holes on the top that were about 3/4" oval each.
Be very careful and don't trust the OEM templates.
Don't be scared away, just go slow, measure twice (or three, or eleven times...) and then drill.
On to the pictures. Say hello to my dad's 71 year old mason, sandpaper hands...
0) Remove interior vertical trim pieces.
1) Attach the OEM plastic templates to the top of the hatch.
2) Use a metal punch to create a point for your drill to start from.
3) Say a prayer
4) Drill...
5) Punch your mark for the second hole.
6) Drill...
7) Repeat on the other side.
8) Apply touch-up paint, or some other protectant, to the surfaces you drilled.
9) Insert spoiler bolt-posts through the holes you drilled.
10) Attach nuts to these bolts.
(It's in there...behind the wires)
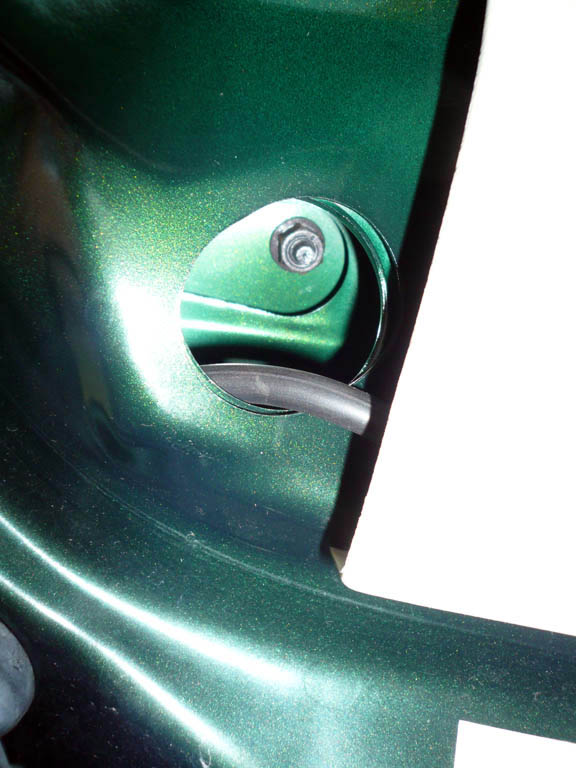
11) Attach bolts to the spoiler through the other holes you drilled.
12) Apply touch-up paint, or some other protectant, to the interior surfaces and around the bolts.
13) Reinstall vertical trim pieces
Enjoy the finished product!


")


